How to Photograph or Scan Your Child’s Artwork for Memoarts
Option 1: Using a Phone Camera / Camera
What You’ll Need:
A smartphone with a good camera (most modern phones will work)
Natural lighting or a bright lamp
A flat, clean surface (table or floor)
📸 How to Take the Best Shot:
1. Use Natural Lighting
Place the artwork near a window with indirect sunlight.
Avoid direct sunlight that can cause shadows or glare.
2. Shoot From Directly Above
Stand directly above the artwork.
Keep your phone parallel to the surface to avoid distortion.
3. Avoid Shadows
Make sure your body or hand isn’t casting a shadow.
Use two light sources from opposite directions if shooting indoors.
4. Fill the Frame
Capture the artwork edge to edge without cropping parts out.
Leave a small margin if you’re unsure – we’ll crop it for the best fit.
5. Tap to Focus and Adjust Exposure
Tape the artwork on your screen to ensure it’s in sharp focus.
Slide the exposure bar to sligthly brighten, if needed.
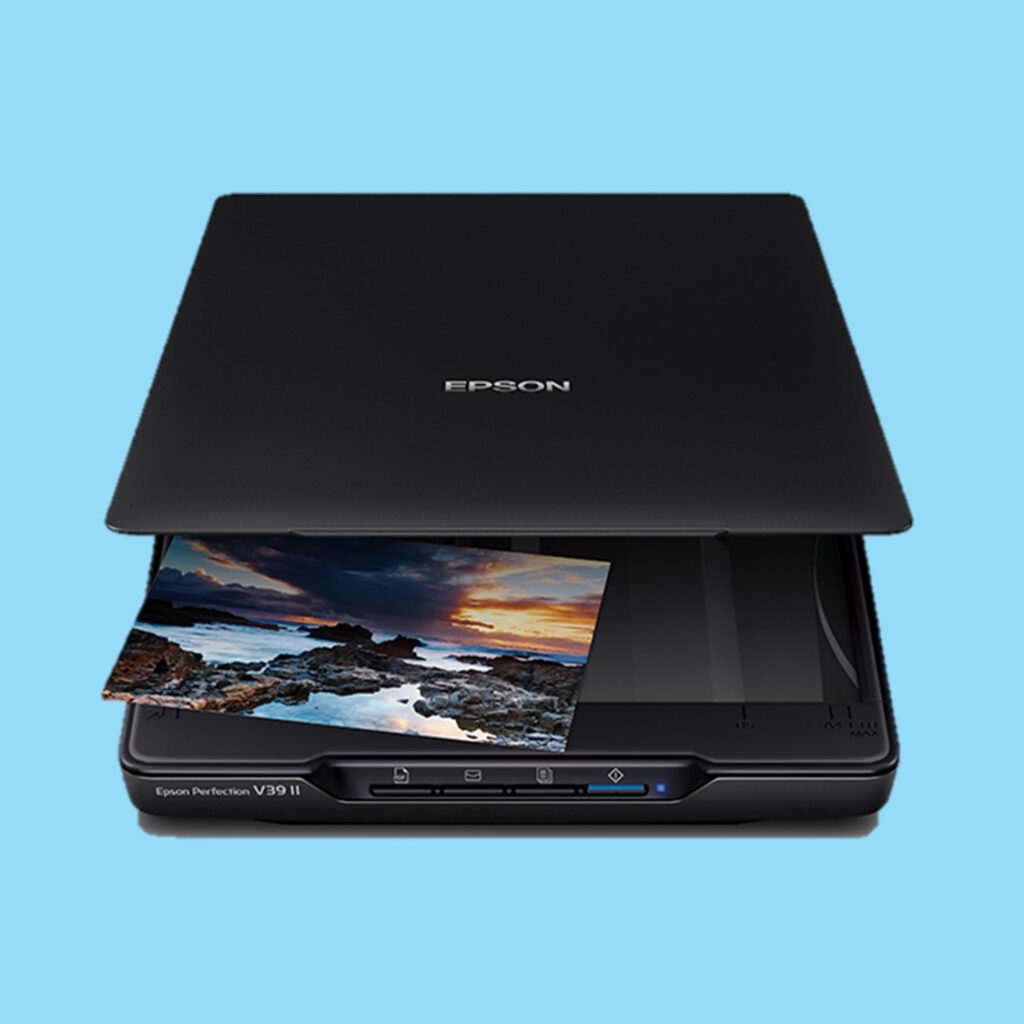
Option 2: Using a Scanner
What You’ll Need:
A home scanner or access to one (flatbed scanners work best)
A computer or phone to transfer files
🧼 Before You Start
Clean the scanner glass to remove dust or fingerprints.
Place the artwork face-down carefully.
🔄 Recommended Settings
Resolution: 300 DPI (Minimum)
File format: JPEG or PNG
Color: Full Color (not grayscale)
✂️Extra Tips & Tricks
Flat is Best: Smooth out wrinkles or curled paper before photographing or scanning.
Avoid Flash: It can create glare or shiny spots on crayon or paint.
Background Hack: If photographing on a table, use a white sheet or cardboard underneath for clean contrast.
Name It Right: Rename your files in order you’d like them to appear (e.g., 01, 02, 03
✨ A little effort in capturing the artwork well means a big difference in the final book. These memories are treasures — let’s preserve them in the best way possible.
Visit www.memoarts.my to get started with your Memoarts book today!